Achieve Seamless Edges with Precision-Cut PPF: Techniques for Perfect Installation
When it comes to keeping your car looking its best, few things are as vital as protecting that shiny paint job. You might think you’re safe from scratches and chips just because you parked in a good spot, but the truth is that the road can be brutal on vehicle surfaces. That’s where Paint Protection Film (PPF) comes in. It's like a superhero cape for your car, ready to shield it from daily wear and tear. With the right techniques and tools, you can install PPF yourself and achieve flawless results. In this article, we’ll guide you through everything from preparation and installation to keeping those edges seamless and pristine—so your ride stays as stunning as the day you drove it off the lot. Let’s dive into how you can elevate your car care game!
Achieving seamless edges with precision-cut PPF involves meticulous preparation, including using high-quality materials, precise measurements, and careful stretching techniques during application. Additionally, utilizing tools like a heat gun or hair dryer to seal the edges and working in a controlled environment helps ensure optimal adhesion and a professional finish.
Introduction to Paint Protection Film
Paint Protection Film, often referred to as clear bra, is more than just a protective layer; it’s a shield made from thermoplastic urethane designed specifically for vehicles. Think of it as armor for your car’s paint—safeguarding surfaces against the wear and tear of everyday driving. This film excels at guarding against minor abrasions, stone chips that might come from the road, and even those unsightly bug splatters that seem determined to ruin a shiny finish. The beauty of PPF lies in its versatility. It's not just about preventing damage; it enhances your car's aesthetic appeal while retaining its value over time. With options available from reputable brands, consumers can choose a product that best suits their needs without breaking the bank. These companies offer various levels of protection and clarity, catering to different preferences and budgets—a flexibility that empowers users with choices.
What makes PPF truly remarkable is its balance of durability and pliability. This combination allows it to conform seamlessly to contoured surfaces, such as car hoods and bumpers, which are often the most susceptible to dings and scratches. Imagine driving away from a parking lot only to find a small ding on your bumper—how frustrating! However, with PPF applied, those worries become less daunting. You find reassurance knowing that the film will bear the brunt of any minor mishaps. Investing in high-quality PPF can save you countless dollars on future touch-ups or paint corrections. Many vehicle owners have reported drastically reduced damage—over 80% have indicated they’ve experienced fewer issues after installation.
This value is compelling when considering long-term vehicle care, but proper installation plays an equally critical role in realizing all these benefits effectively. As we move forward, it’s essential to understand what tools make for an efficient and precise installation process.
Essential Tools for Precision Cutting
Successful PPF installation starts with having the right tools—think of it like prepping for surgery, where precision and cleanliness are everything. A sharp utility knife is the foundation of clean, accurate cuts that ensure seamless film edges. It’s a simple tool, but essential for professional-grade results. Equally important is a quality squeegee. More than just a bubble remover, it’s key to pressing the film smoothly against the surface, allowing it to contour around curves and edges without lifting or wrinkling.
A heat gun also plays a vital role. Controlled heat makes the film flexible enough to mold perfectly to a vehicle’s shape while activating its adhesive. That said, restraint is important—too much heat can distort or weaken the film. For those aiming for clean lines and uniform finishes, precision cutting tape is another must-have. It allows you to create consistent edges with minimal risk of error, especially in intricate areas. Prepping your surfaces correctly matters just as much. An alcohol-based cleaner removes oils, residue, and contaminants that could interfere with adhesion. And a lint-free cloth rounds out your toolkit, helping maintain a dust-free surface during every step of installation.
Each of these tools plays a critical role in ensuring a flawless application. When used properly, they not only simplify the process but also boost the quality of your work. With this foundation, you're fully equipped to master advanced techniques that refine and enhance the overall finish of your PPF installation.
Step-by-Step Installation Techniques
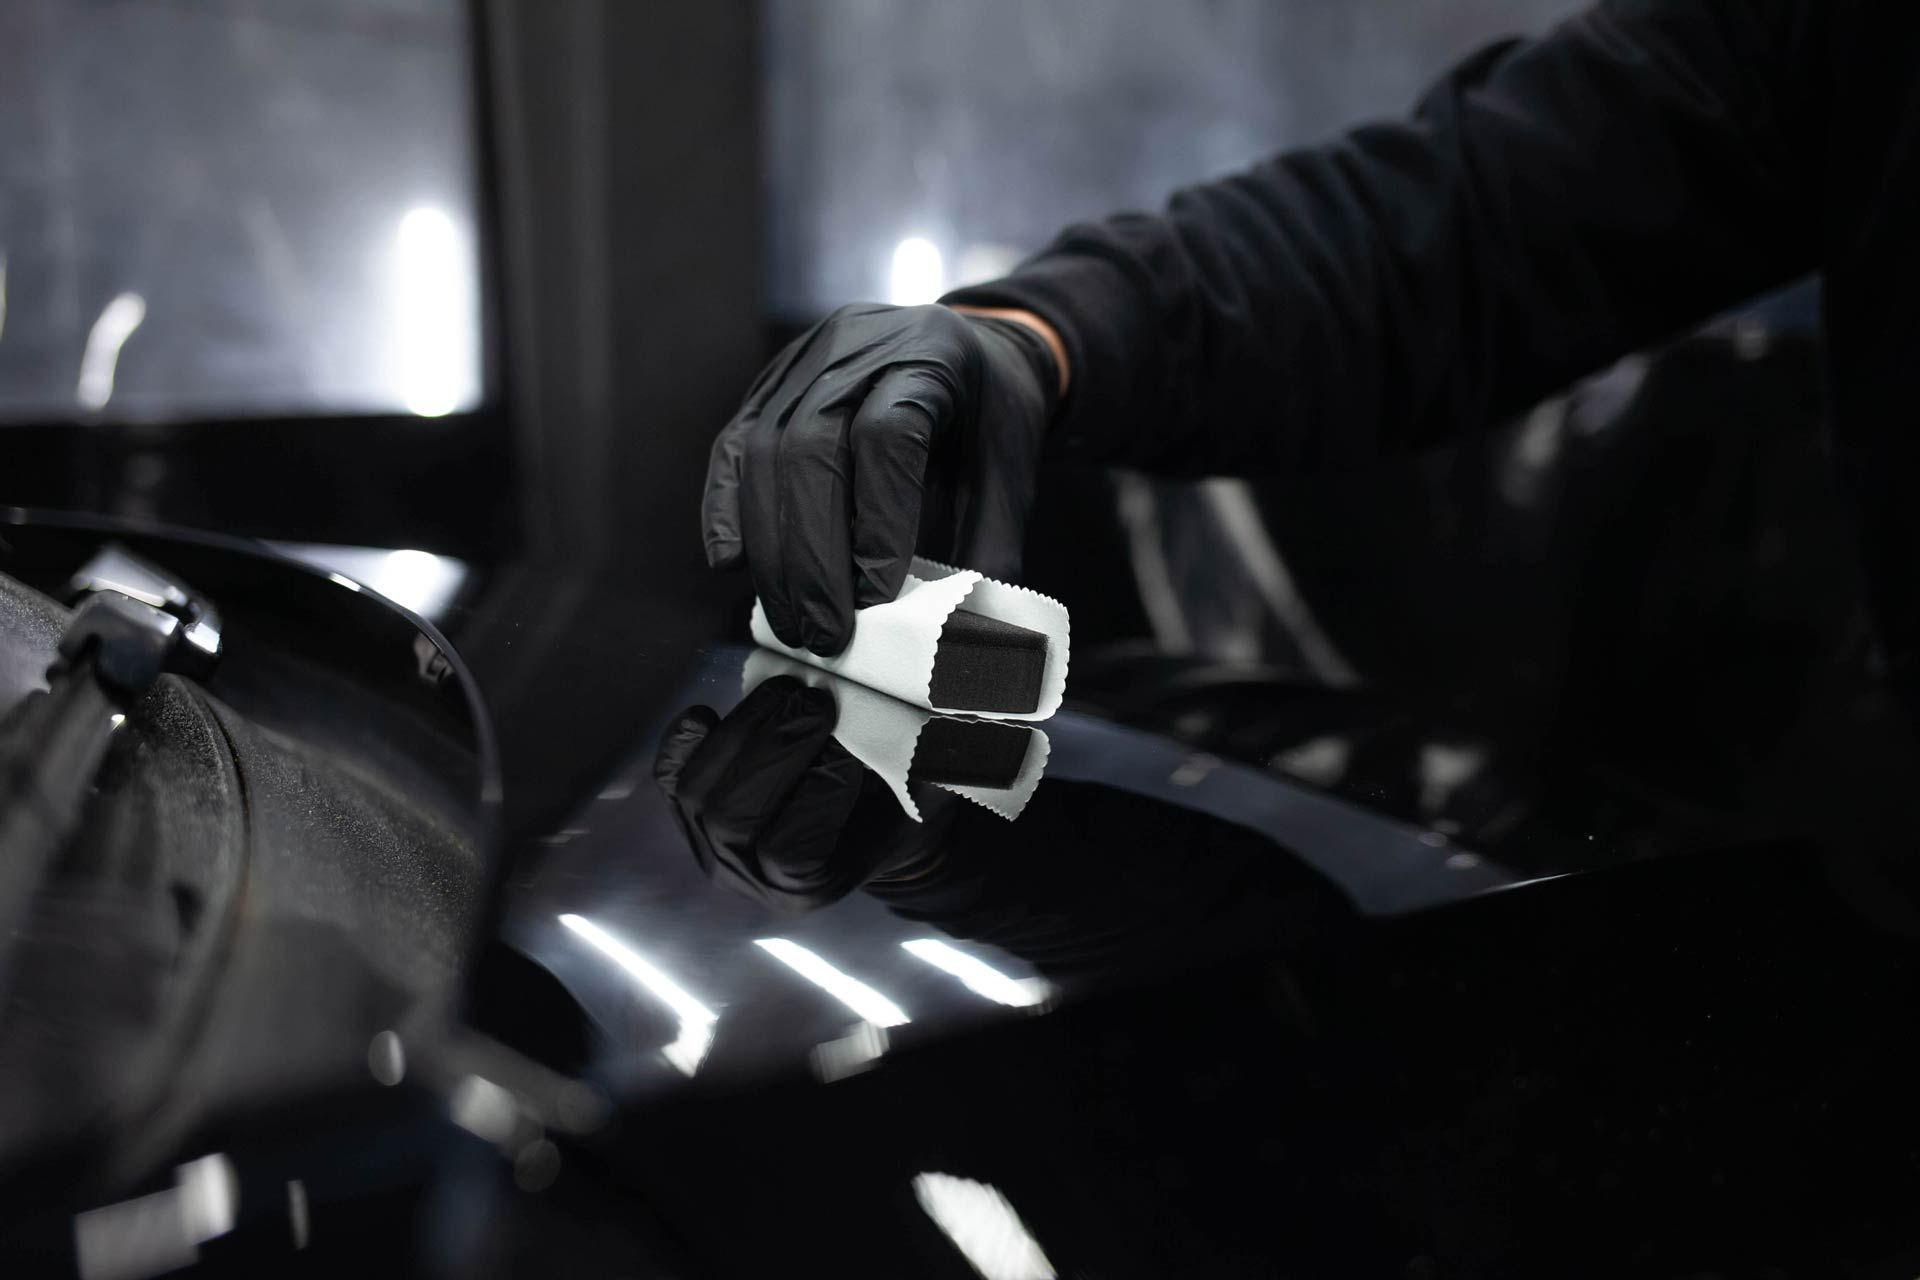
When it comes time to install PPF, having a well-defined plan is key. The first step in this process is to carefully prepare the surface of your vehicle. A meticulous clean-up is crucial because even the smallest contaminants can affect the film's adhesion. To do this, you'll want to use an alcohol-based cleaner and a lint-free cloth. This cleaner helps eliminate oils, waxes, and dust that might be invisible to the naked eye. Take your time with this step; you’ll thank yourself later when the film adheres smoothly without any bumps or imperfections.
Once you've ensured the surface is impeccably clean, you can move on to the next critical phase: measuring and cutting the film. Begin by measuring the area where you’ll apply the PPF, and cut your film slightly larger than this measurement. This extra material allows for easier positioning, which is essential when making adjustments during installation. Using a utility knife along with cutting tape ensures precision as you slice through the film. Sharp blades are vital here; dull knives can lead to jagged edges that detract from a professional-looking installation.
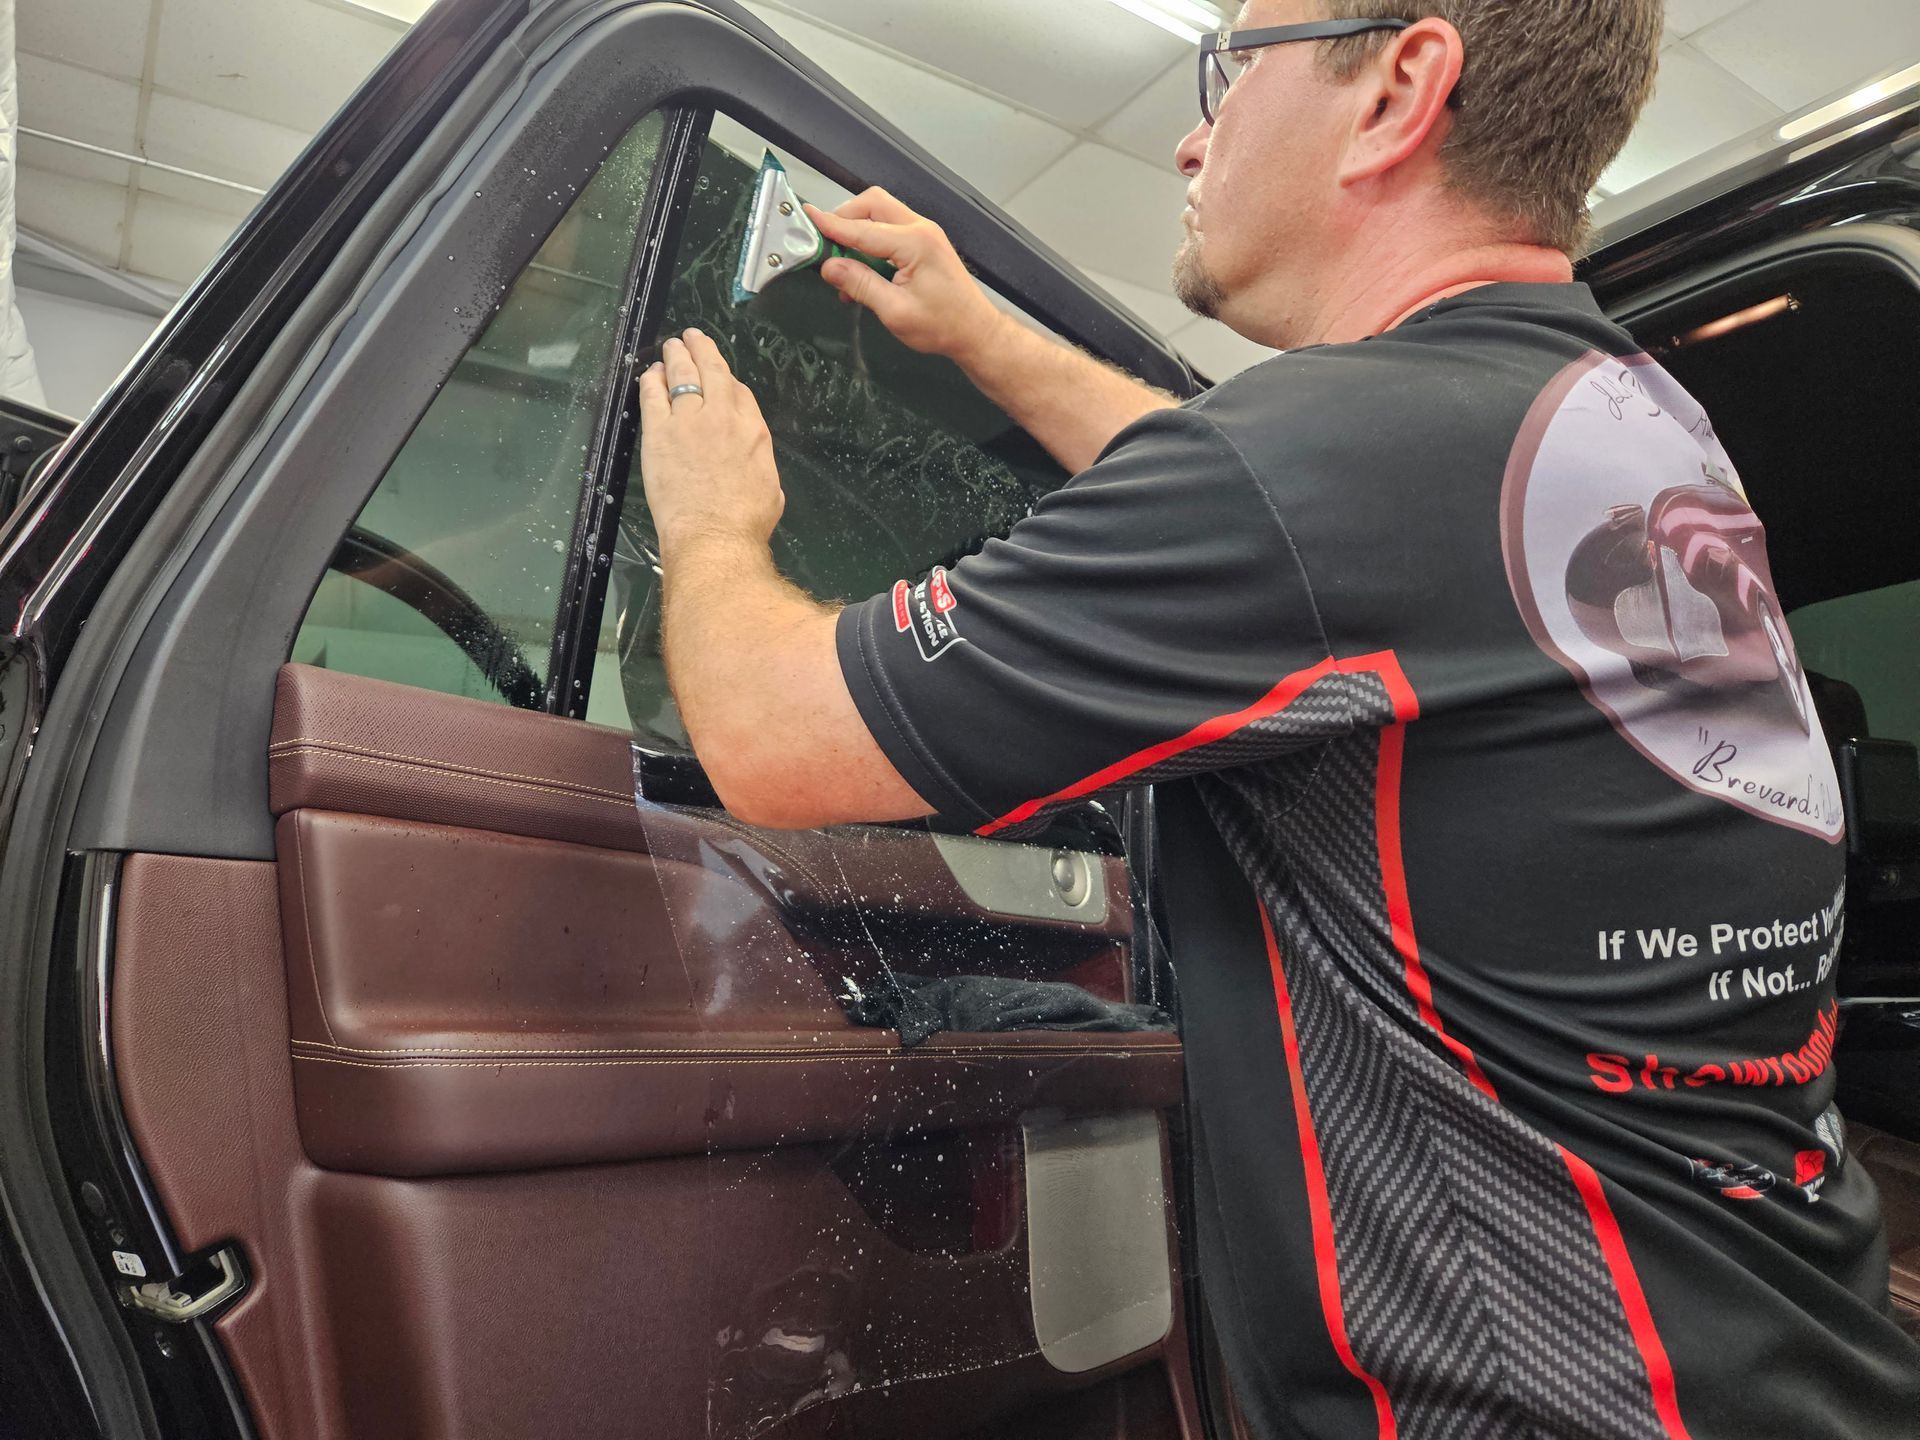
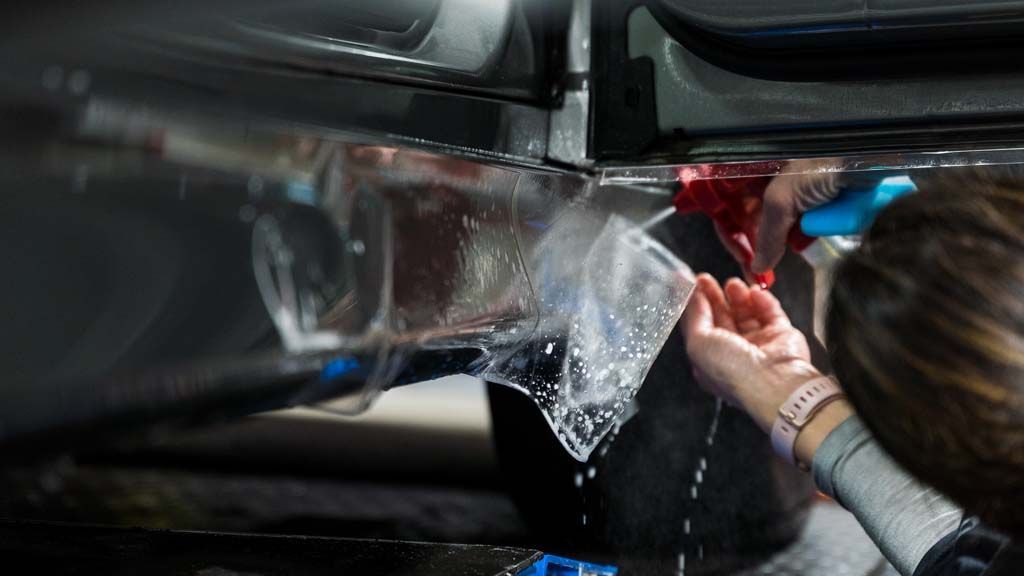
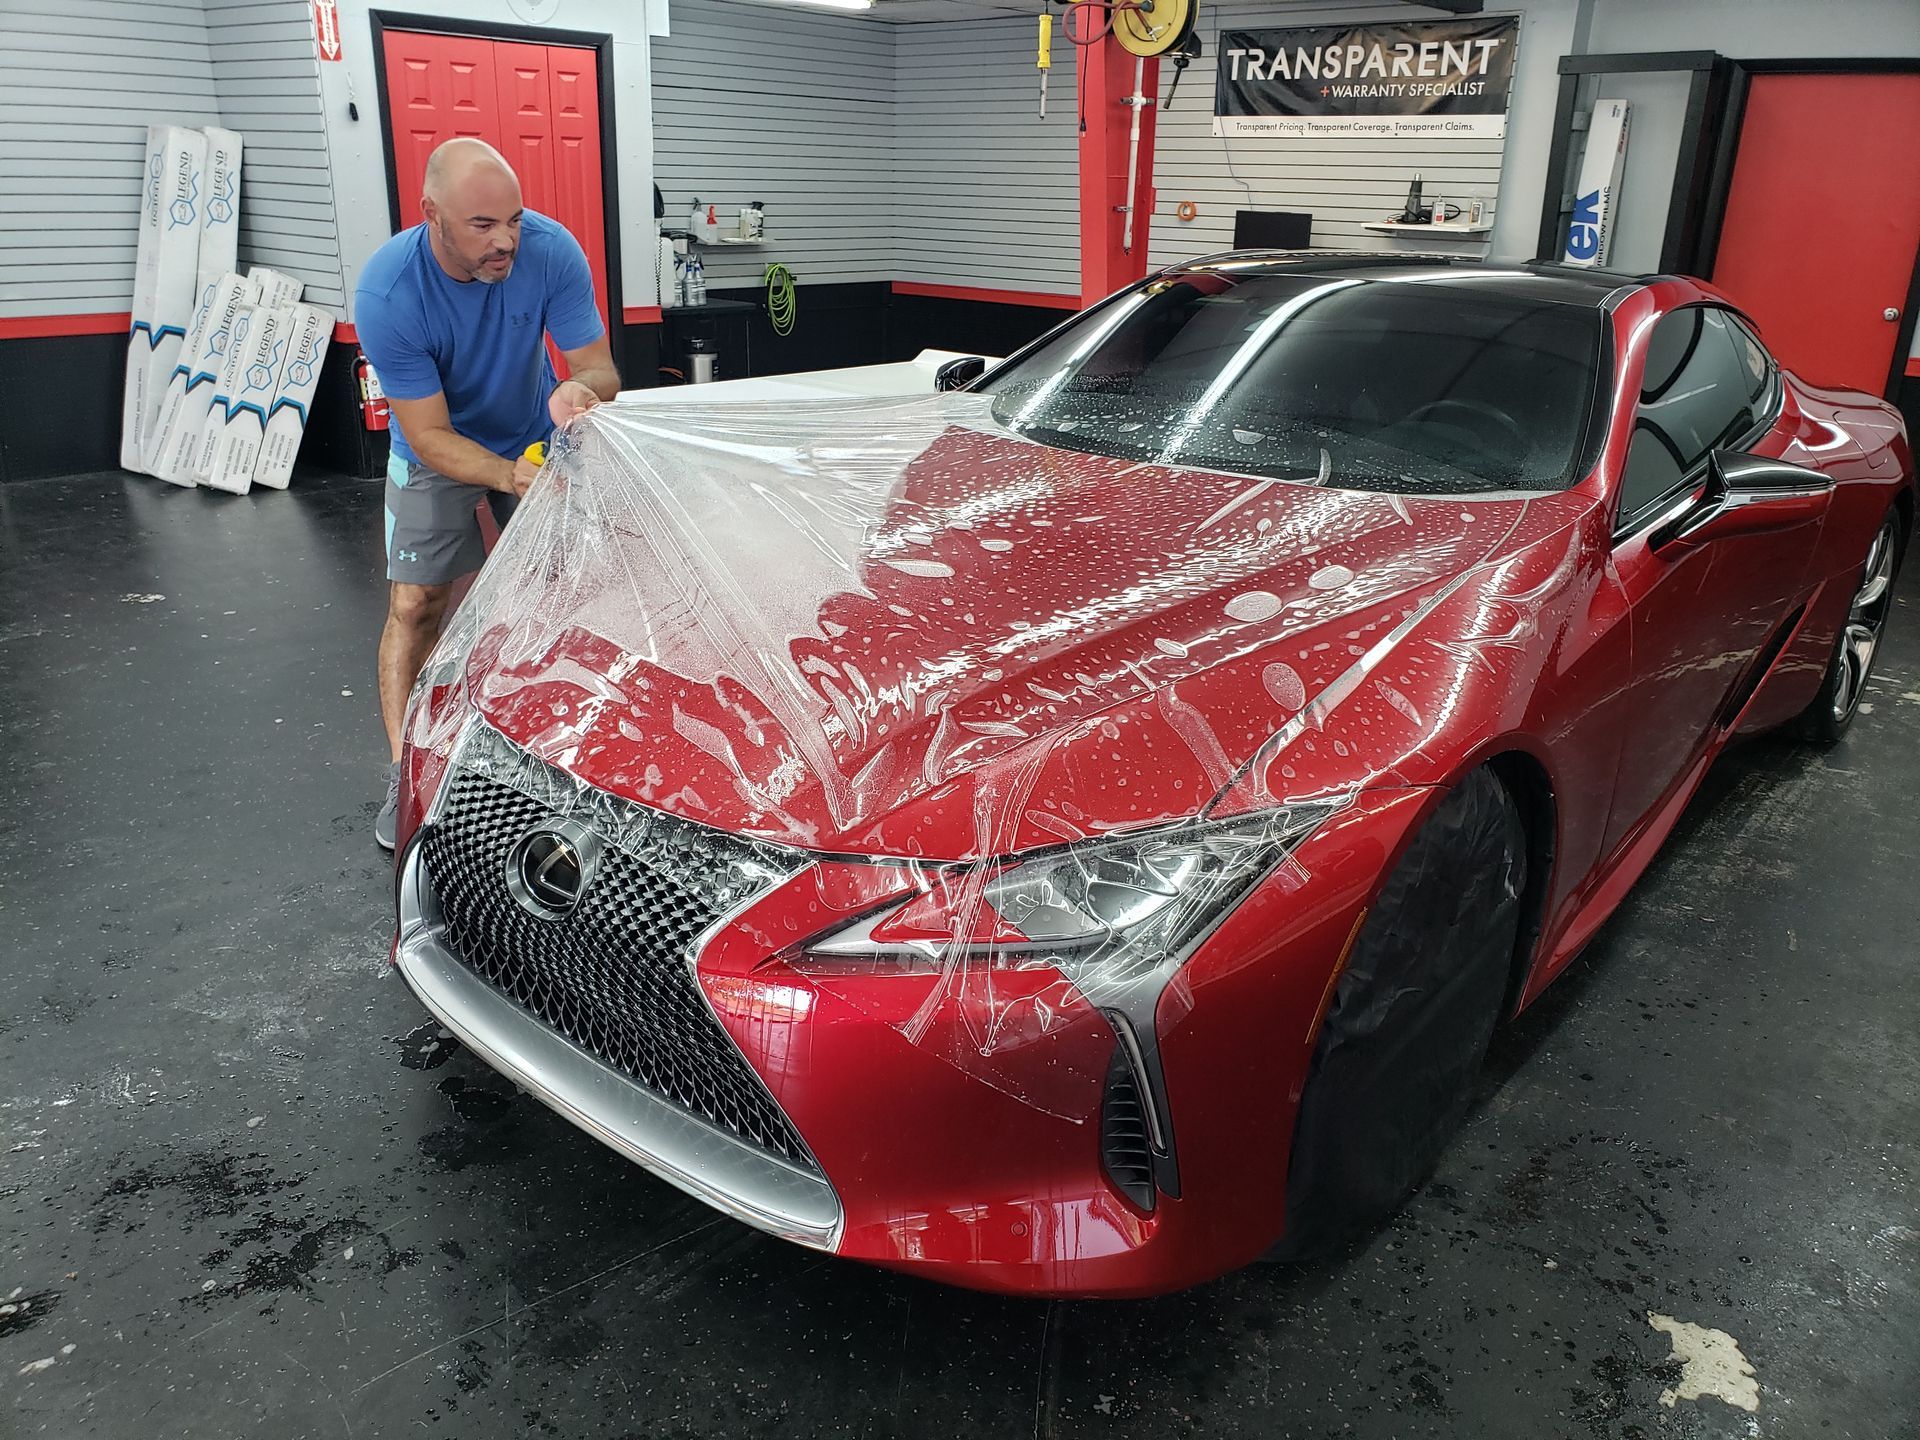
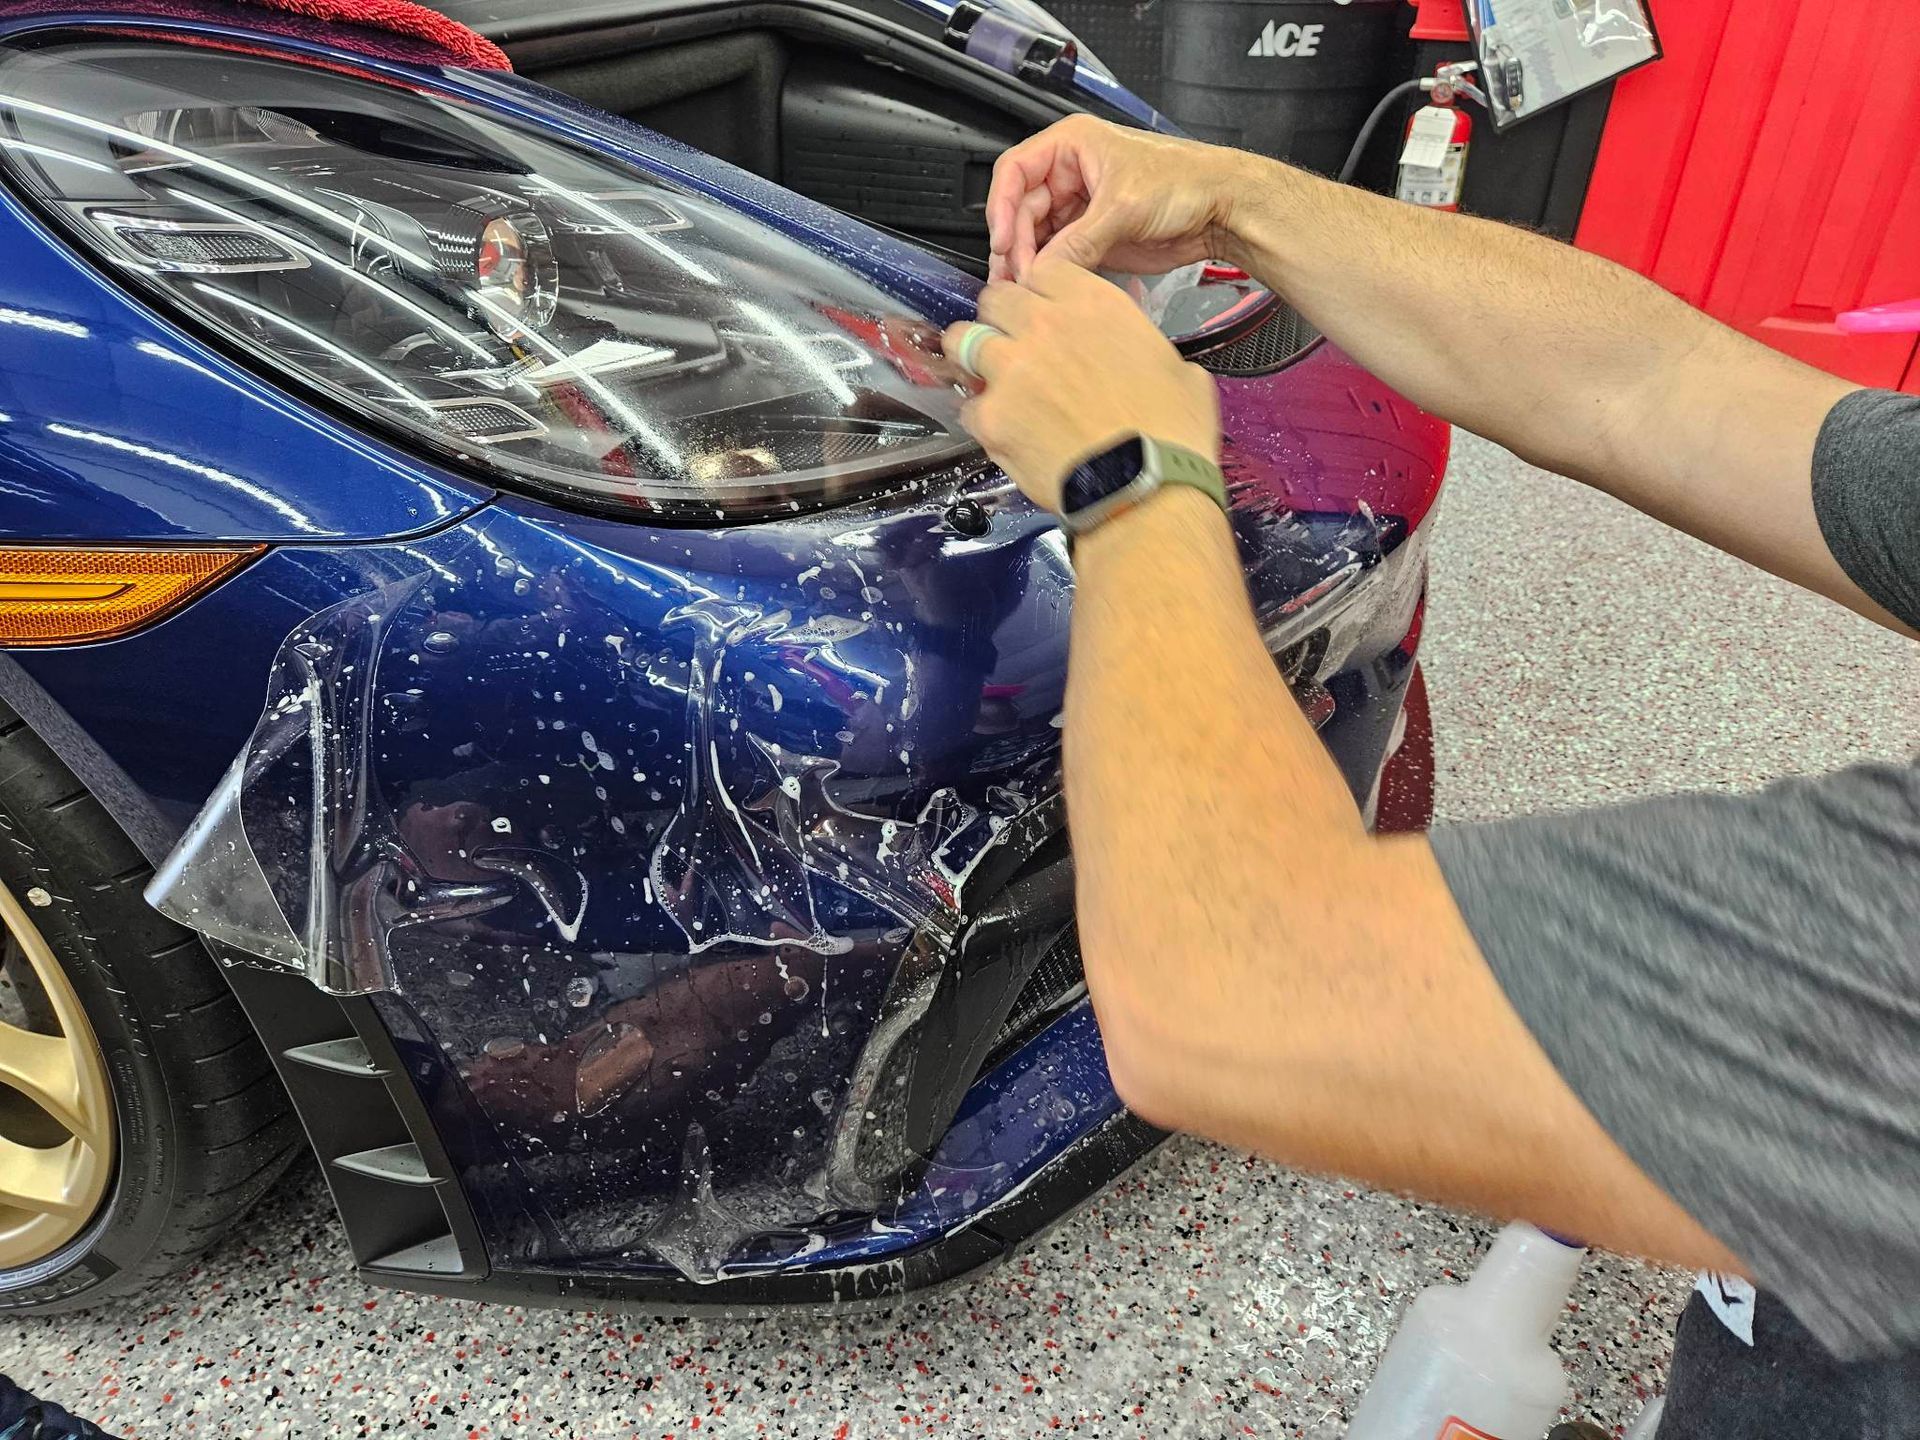
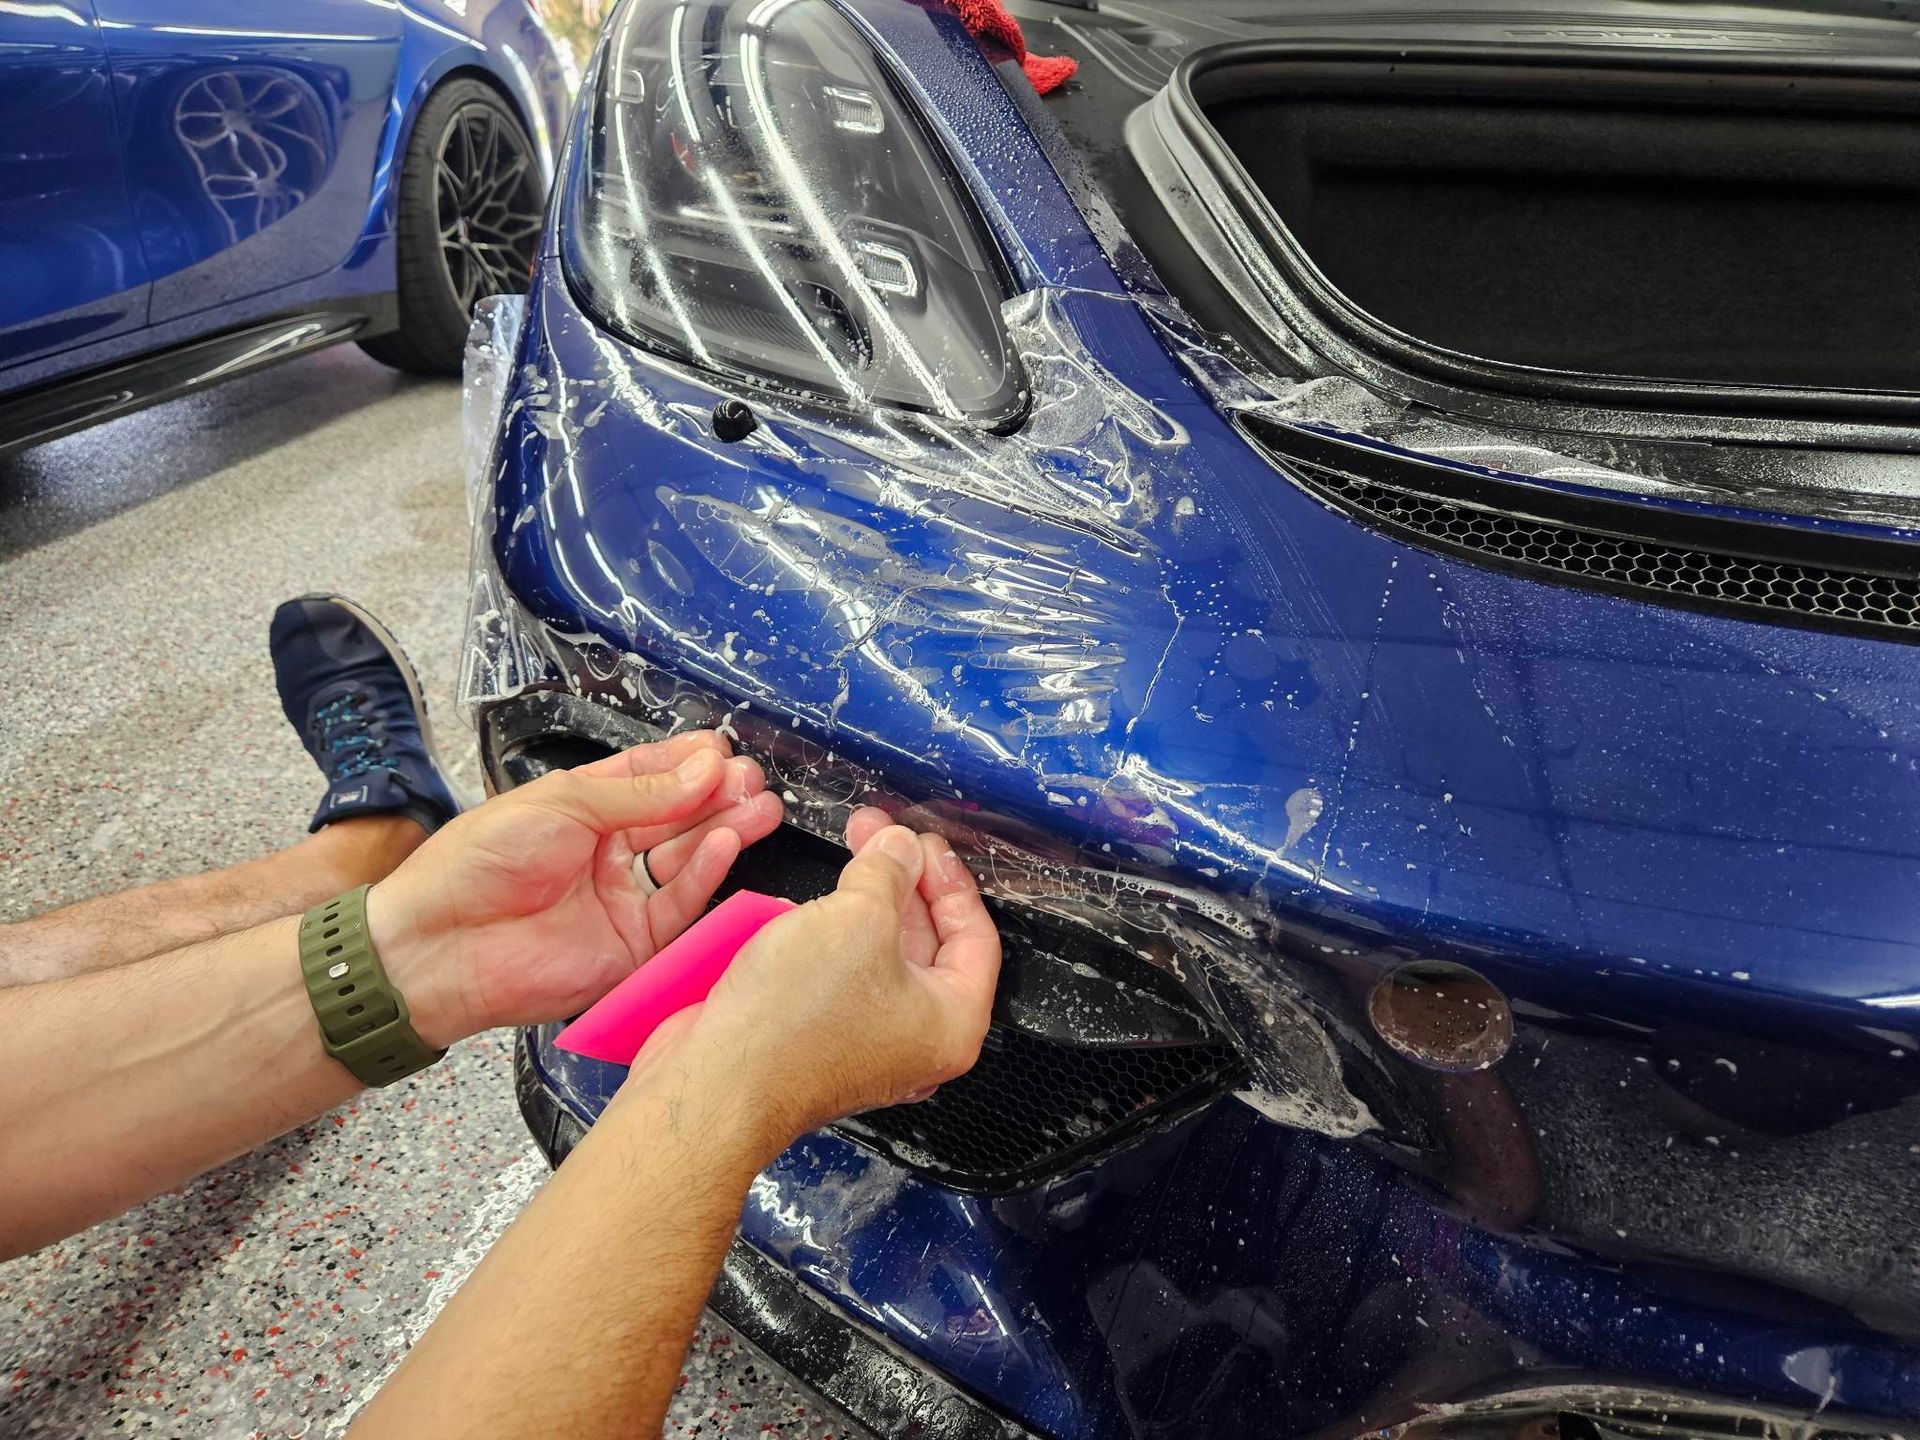
With your film prepped and cut accurately, it’s time to apply it to the vehicle. Before laying down the film, peel back its protective layer. It’s recommended that you spray a slip solution—a mixture of water and baby shampoo—onto both the adhesive side of the film and the car's surface. This solution creates a lubricated layer that allows for proper positioning without permanently bonding just yet. The adjustable nature of this wet application method enables minor shifts for perfect alignment. Remember to take care during this phase; a calm approach often yields better results as you position the film just right.
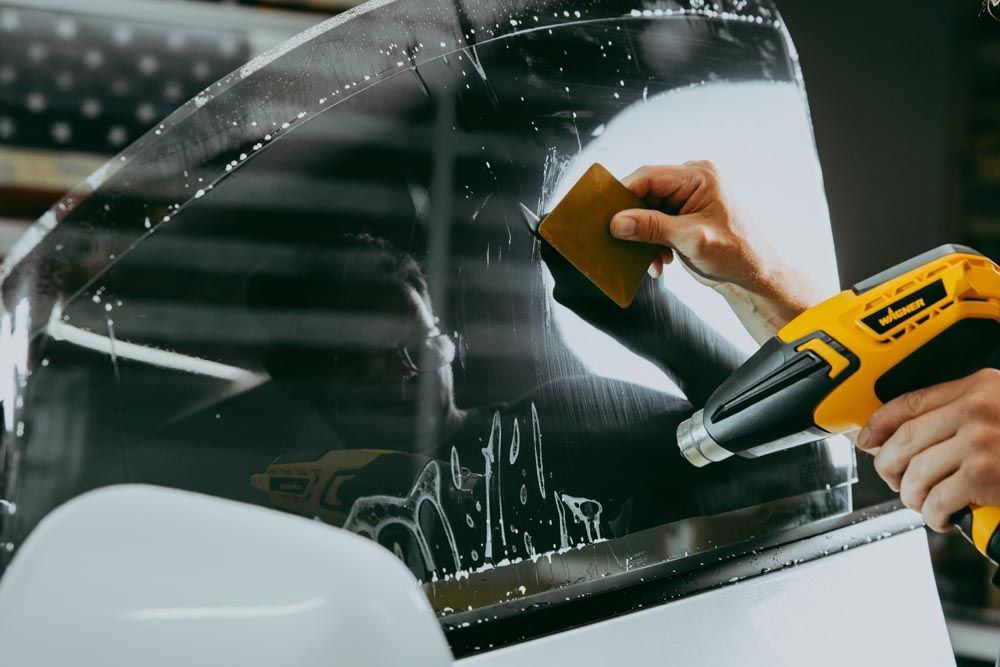
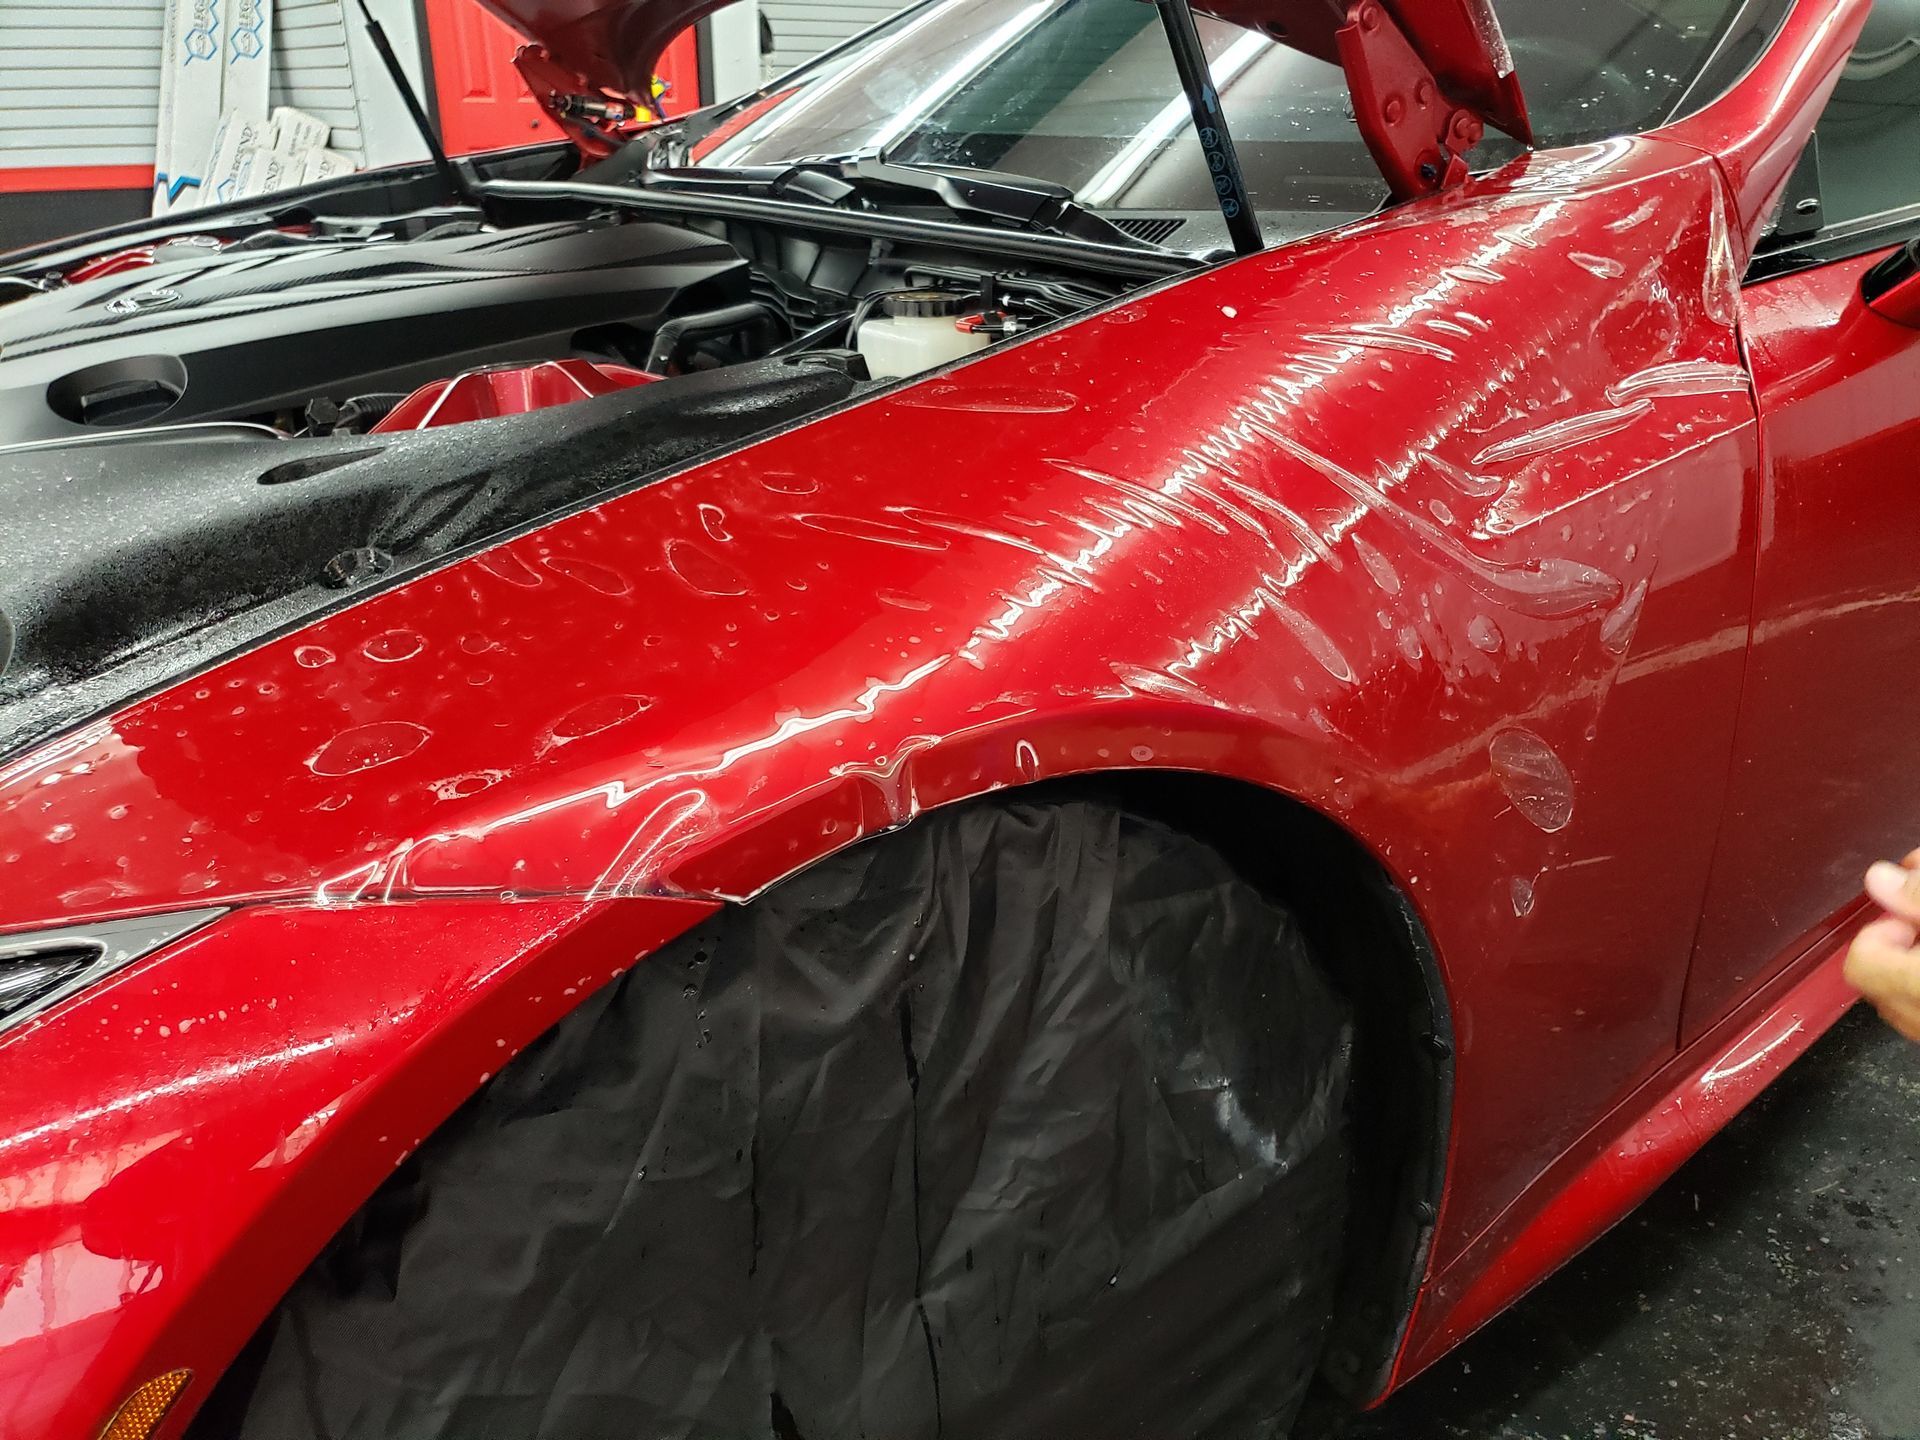
With the film applied, you're ready to position and smooth it out. First, align the film as closely as possible with your predetermined layout. With a felt-edged squeegee in hand, begin smoothing from the center outwards using overlapping strokes. This technique pushes air bubbles and excess slip solution towards the edges, where they can escape easily. If you encounter curves or contours in your vehicle’s surface, use a heat gun sparingly to soften the PPF slightly; this makes it more malleable and allows it to conform without resistance.
Finally, after ensuring everything is perfectly placed, it’s time for some finishing touches with trimming and securing your work. Use your utility knife again to trim away any excess film along the edges, taking care to maintain a clean line as you go. After trimming, re-inspect all edges; then lightly go over them with a heat gun while smoothing with a tool like a soft cloth or squeegee. This final touch not only secures the edges but also encourages optimal adhesion between layers, enhancing protection against lifts or separations down the road.
Throughout this entire process, patience is vital. Each step builds upon the last, culminating in a seamless finish that not only protects but enhances your vehicle's overall appearance, ensuring it's safeguarded against potential damages for years to come. By exploring these detailed techniques for installation preparation and execution, you're well on your way to achieving that flawless look before moving into specific strategies for mastering edge control in your project.
Tips for Achieving Seamless Edges
The hallmark of a professional PPF installation is achieving clean, seamless edges, but this requires meticulous attention to detail that can significantly impact the final result. One of the most important tips is to focus on alignment. Ensuring precise positioning before securing the film is essential. Working in small sections and using a generous amount of slip solution allows for easy adjustments without compromising the film’s integrity.
Edge wrapping is a technique that enhances both aesthetics and durability. Wrapping the film around edges such as corners and sides creates a more polished appearance and helps prevent premature lifting. Applying gentle heat with a heat gun or hair dryer can secure the wrap in place, helping the film conform snugly and adhere more effectively. A common mistake during installation is overstretching the film. While it might appear to offer better coverage, overstretching often leads to adhesive failure, visible lines, and lifting over time. Maintaining a consistent temperature in the installation area—ideally between 70–80°F (21–27°C)—can help reduce this risk, supporting optimal adhesion and film flexibility.
Keeping the workspace clean is another crucial factor. Dust control minimizes contamination, and working in a closed garage environment can greatly reduce the presence of airborne particles. Using both artificial lighting and natural sunlight improves visibility, making it easier to spot imperfections or misalignments during the application process. Lint-free cloths are also useful throughout the process to ensure surfaces remain clean and clear of debris. By applying these techniques, installers can achieve smoother applications, fewer imperfections, and a finish that not only looks great but also stands the test of time.
Common Pitfalls and How to Avoid Them
Even seasoned installers can encounter issues that affect the final appearance of PPF. One such challenge is dust contaminants, which can sneak beneath the film, creating unsightly bumps and imperfections. It's surprising how a simple particle can disrupt an otherwise perfect application. To combat this, it's essential to work in a controlled, clean environment. Consider using a closed garage or specialized installation booth to minimize dust exposure. Ensuring proper lighting will also allow you to spot any stray particles before committing the film, preserving that pristine look.
Another challenge pertains to the use of slip solution. A little slip solution goes a long way; however, using too much can impede the adhesive from activating properly. Imagine trying to stick two pieces of tape together when there's too much glue—nothing sticks! Instead, you want just enough solution to facilitate easy repositioning without overwhelming the surface. The goal here is flexibility during placement while maintaining strong adhesion once you’re satisfied with the position.
Moving on to the third pitfall: sharp edges. Directly cutting against painted surfaces might seem effective for trimming excess film, but it can lead to scratches that detract from the overall finish. Rather than taking that risk, use cutting tape along with your utility knife or trim the film off the car altogether. This protects your vehicle and helps maintain accuracy for those tight-fitting curves. Commonly, novices and even some professionals rush through the process due to impatience, leading to skipped steps or poor attention to detail—ultimately impacting your hard work. It’s critical to take your time and ensure every step is followed meticulously. Dedicating ample time for each section not only results in better outcomes but also builds confidence in your abilities.
By being aware of these pitfalls in advance and preparing for them accordingly, you can significantly improve both the aesthetics and longevity of your paint protection film application. Successful installation isn’t just about getting it done; it’s about getting it done right. With an understanding of potential missteps and strategies for flawless application now in hand, let's explore how to keep your protective film looking its best over time.
Maintaining Your PPF for Longevity
Proper maintenance can significantly extend the life of your PPF, ensuring it retains both its appearance and protective qualities. Regular upkeep is about more than just having a shiny car; it’s an investment in the longevity of both the film and the vehicle itself.
One of the most critical aspects of maintenance is regular washing. It’s best to hand-wash your vehicle using a pH-neutral automotive shampoo. This not only removes grime but also protects the film. Automated car washes can be dangerous for PPF, as harsh brushes may scratch its surface. Imagine wiping down your expensive electronics with sandpaper—this is what automated washes can do to your protective film! In addition to washing, steering clear of harmful substances plays an equally important role. When cleaning your car, it's vital to avoid harsh chemicals like strong solvents or cleaners not designed for PPF. Using products specifically formulated for these films ensures that you maintain their integrity. Think of it like choosing shampoo for color-treated hair—it prevents damage and maintains vibrancy.
Another way to safeguard the longevity of your PPF is through frequent inspections. Periodically check edges and areas that experience high wear, such as around door handles and bumpers, for any signs of lifting or damage. Being proactive can prevent small issues from escalating into costly repairs—a stitch in time saves nine! Users who follow these best practices often report their PPF lasting well beyond the warranty period, resulting in vehicles that appear newer for longer. This not only keeps your car looking fantastic but also enhances its resale value when it comes time to trade up. Regular and diligent maintenance will preserve the protective properties of your PPF while amplifying your car's overall aesthetic appeal and market value. You wouldn’t neglect a prized possession; treat your vehicle with care, and it will repay you by maintaining its flawless finish and protected exterior for years to come.
In summary, proper maintenance of your PPF ensures longevity and protects both the film and your vehicle investment.
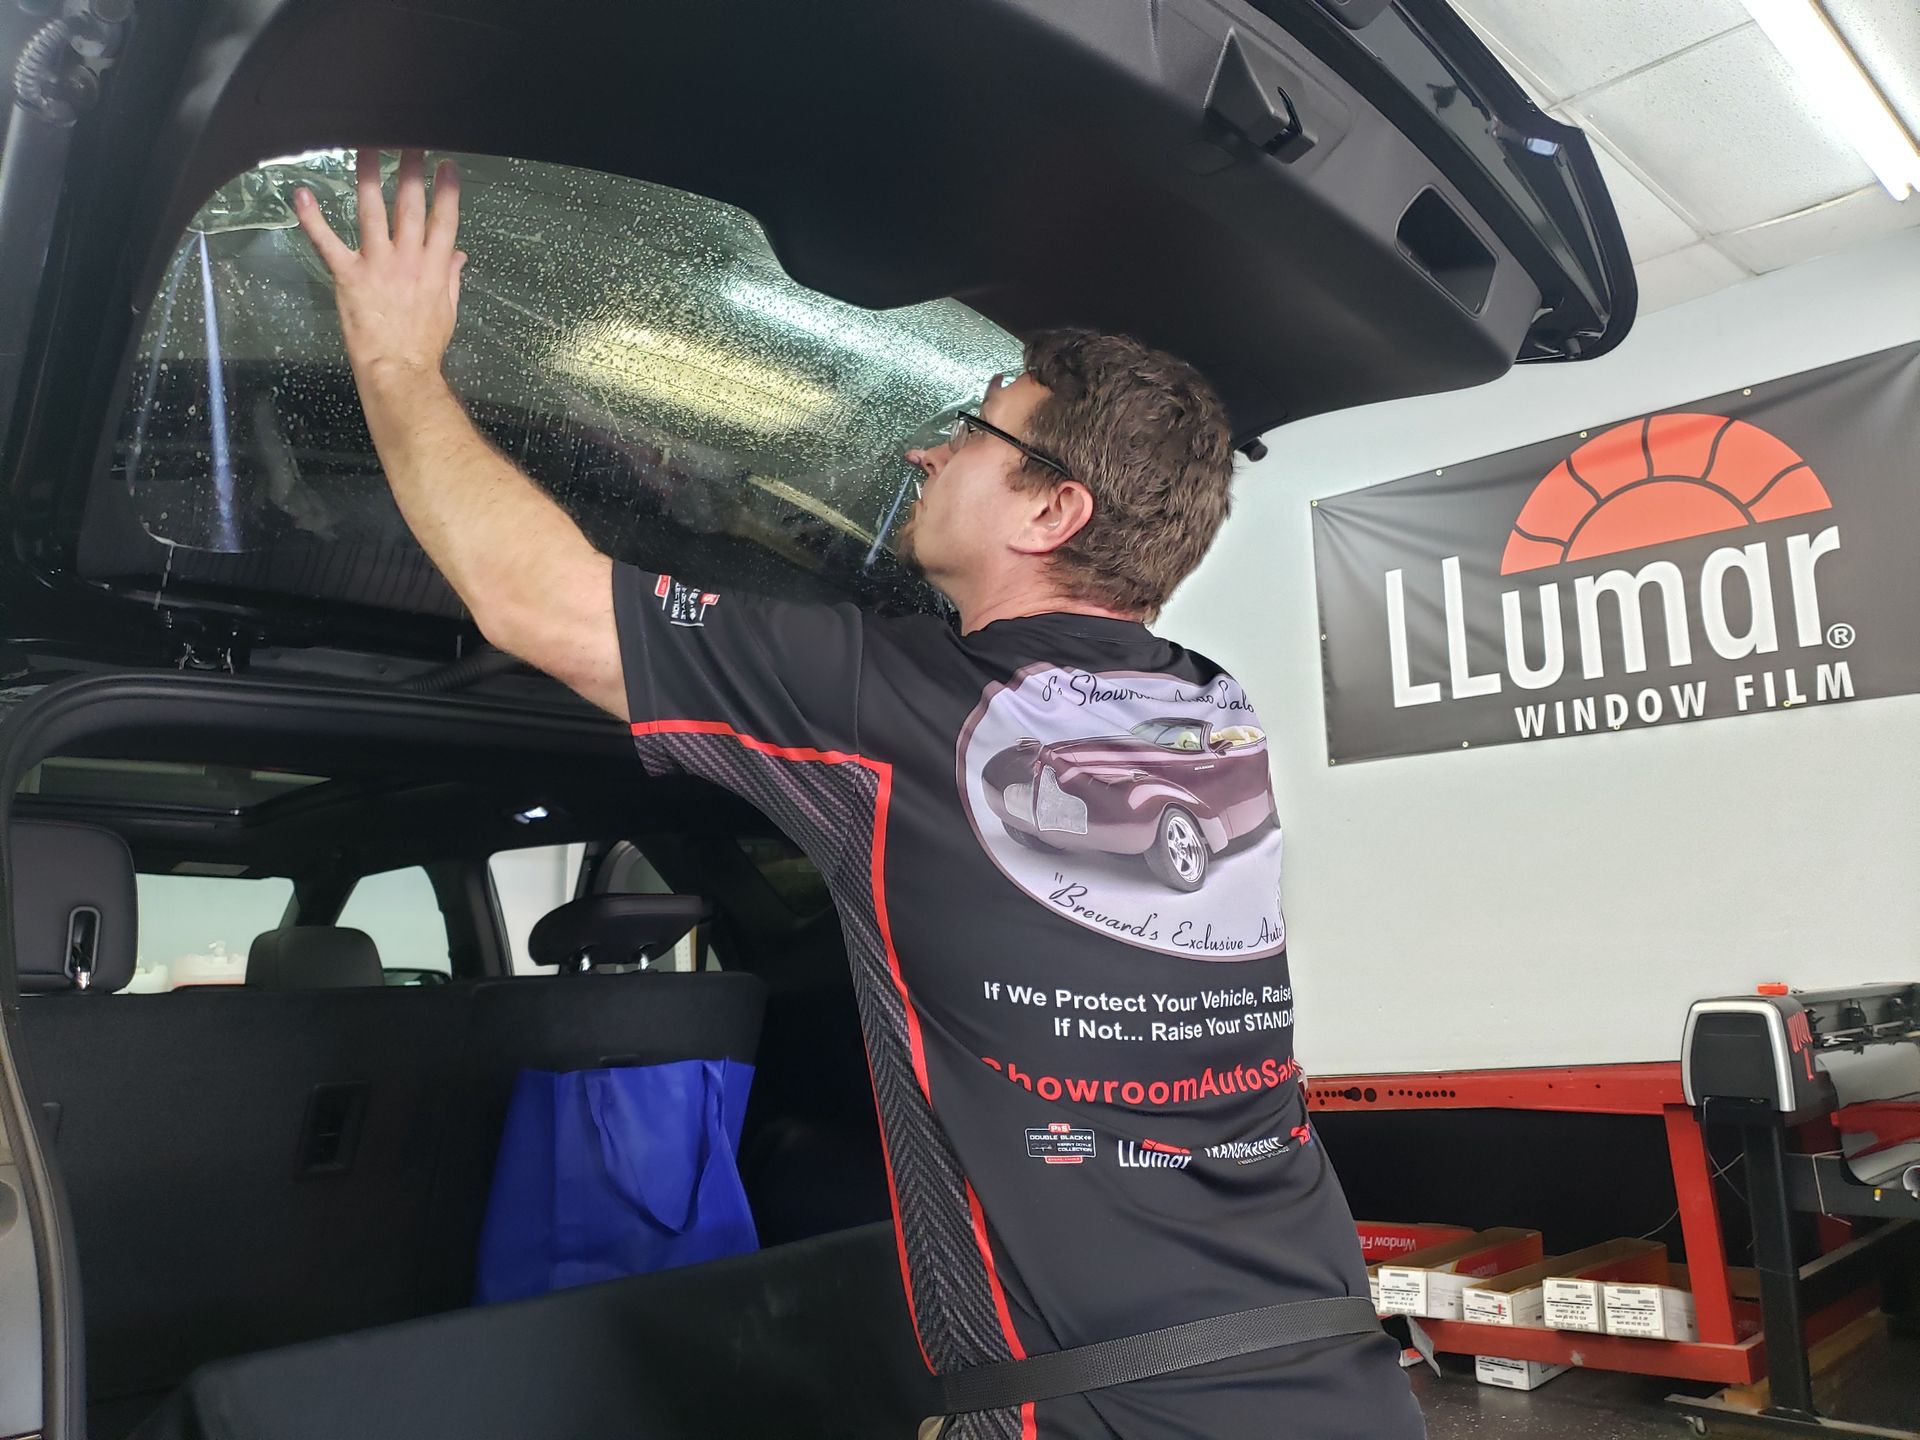
Premium-Grade PPF Solutions in Viera, FL
When it comes to shielding your vehicle from rock chips, road debris, and swirl marks, JL’s Showroom Auto Salon in Viera, FL, delivers unmatched precision with professional paint protection film services. Their expert installation team works in a meticulously maintained environment, ensuring the film lays seamlessly over your car’s surface for long-lasting defense and a showroom finish. Discover how this premium protection keeps your vehicle looking flawless—mile after mile.